"Not Too Stabby" Bookbinding Technique for Junk Journals
As an Amazon Associate I earn from qualifying purchases. Cheers for your support!

I always honey to explore unlike ways to make new junk journals, and today I accept a video that shares my latest bookbinding experiment that I'k calling the "Not Too Stabby" junk periodical bookbinding technique.
This particular journal combines all the beauty of Japanese stab bounden with the ease and convenience of rubberband inserts to hold the pages in.
It was VERY highly experimental merely I beloved, love, LOVE how it turned out!

When the book was done I thought, Hey, I actually like this…not also bad, not too shabby … and since it mimics the await of Japanese Stab binding I figured "Not Also Stabby" was a expert name for the bounden technique.
Information technology'south actually not also stabby in the literal sense either – I did not poke myself non even once with the needle or the awl!
While I am going to include step-by-step directions for how I fabricated this journal at the bottom of this postal service, I don't know if I would fully call information technology a tutorial simply because the whole process while I was doing this was super experimental.
One of the reasons I fabricated a video while making this journal was considering I idea if it works I'yard going to want to remember what I did! At that place are too some things I will probably desire to change and do differently next time.
Hopefully this video and post will give yous an overview of the basic concept and process to give you some inspiration to endeavor your own bookbinding experiment.
Reader's Digest Condensed Books Make Beautiful Journal Covers
I actually didn't take much of a programme when I started making this periodical. I had some Reader'due south Digest Condensed Books I picked up at a thrift store for 25 cents each, and then I knew I wanted to employ those book covers as covers for my journal in some way.
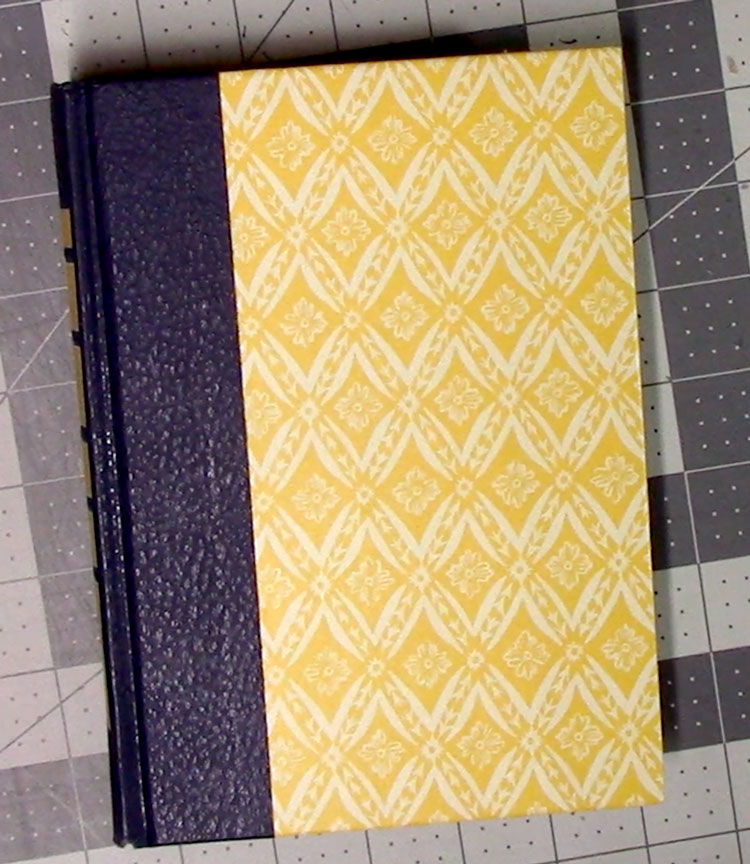
All of the Reader's Digest books like these have these really cute picayune prints on them. They are so pretty! I dearest to utilise them for all sorts of unlike books I brand.
I besides got some of the red and green ones because they are perfect for Christmas junk journals. I was very excited in that location was a whole bin of them on the table at our thrift outlet store.
If you take rough and jagged edges when you cut the covers abroad from the text block of the book you can always trim and sand them with a fine grit sandpaper.
The other thing I knew I wanted when I first started out with this was a way to have the rubberband bands to go along the pages in identify.
Since I outset developed the Elusive Perfect No Run up Journal technique I've really become quite spoiled with those elastic bands. Information technology's and then nice to exist able to freely move and change pages however you would similar!
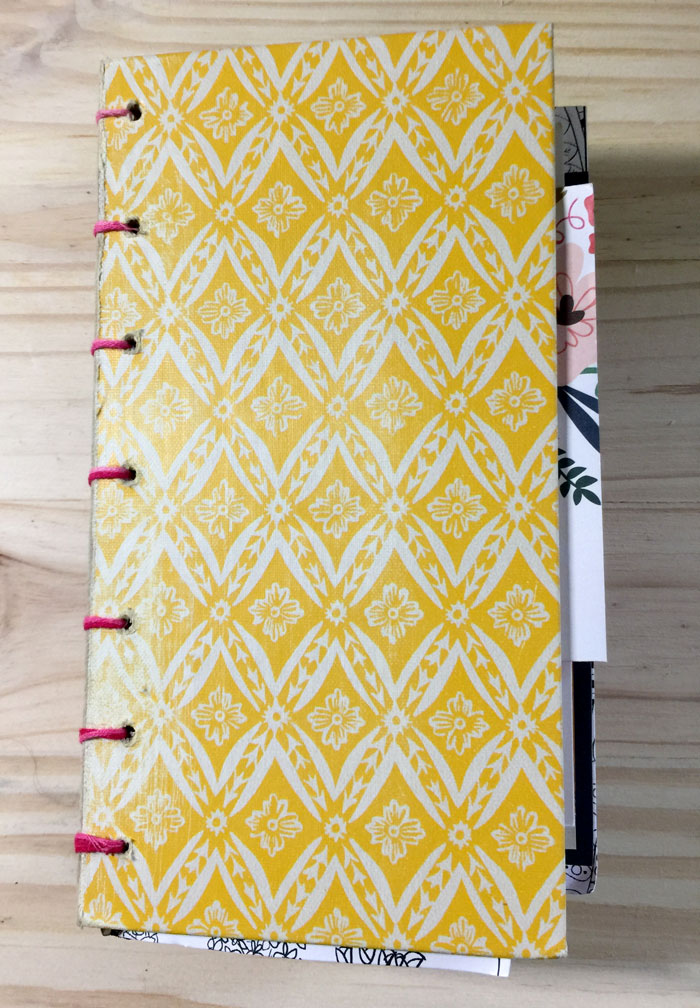
Cutting The Covers & Mark for Where to Punch Holes
You lot can see how the cover looks before sewing, along with marks for where to punch the holes in the paradigm shown here.
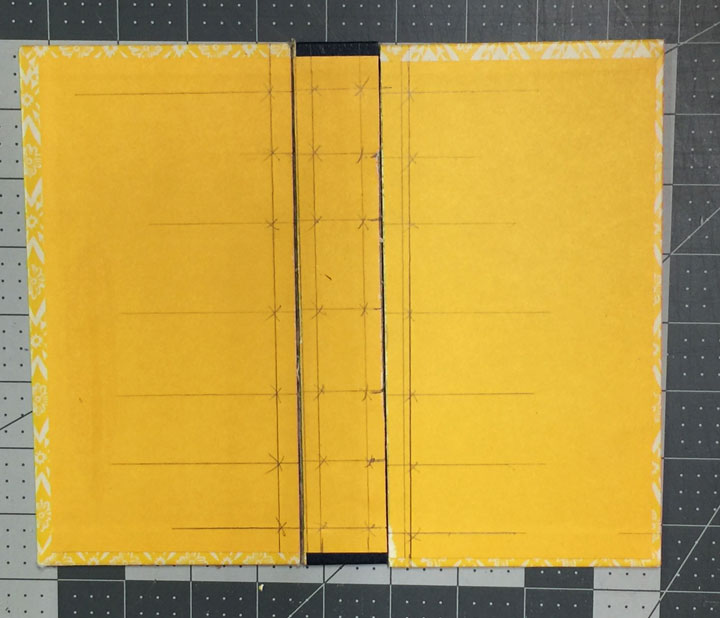
I used a ruler to measure virtually i/iv″ from the edges on the spine and inside encompass. I also drew lines beyond to make certain the holes I punched on the three unlike pieces would all line up together.
To punch the holes, I used this Dasco Scratch Awl I had around the house and a mallet hammer my husband had in the garage. Yous probably don't need the mallet to dial the holes, just it does make information technology super easy without needing a ton of force.
Information technology's besides a very good style to work out some stress as you pound away. 🙂
Last updated on Jan 23, 2022 3:16 pm
Punching the holes into the volume covers ahead of time eliminates a lot of the "stabbing yourself by blow" risk that you might get with pamphlet stitching, coptic binding and other methods.
Bookbinding Technique for Lacing Together
With this method I used it'due south more than like lacing, non so much like actual sewing and stitching. I used embroidery thread and laced a criss-cross blueprint, only of grade in that location are all sorts of unlike ways this could exist done!
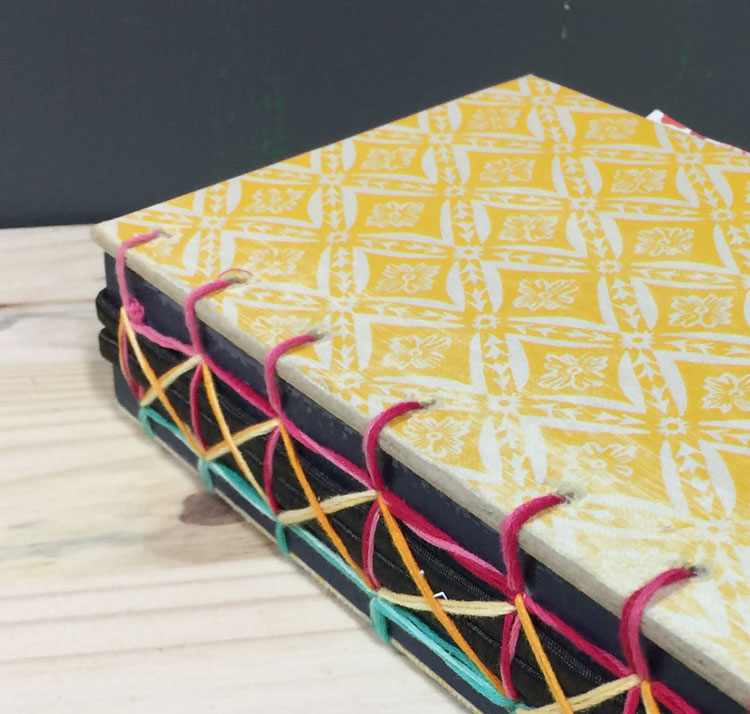
Whatever kind of thread could be used for this method, but I love the way the variegated embroidery thread I used looks doubled upward. In that location'south a nice contrast between the light/dark colors.
Terminal updated on January 23, 2022 3:16 pm
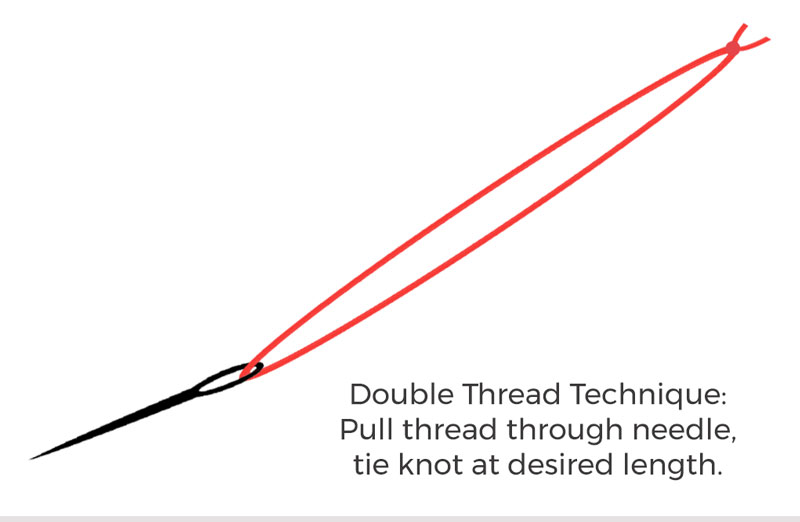
When I did the lacing I pulled the thread through my needle to double the thread and then tied a knot at the end. This gives you a dainty and sturdy thread to work with and you don't accept to worry almost losing the end while yous go!
The lacing process might seem a little confusing to watch or explain, but in one case you sit down down to actually lace through the holes it is pretty easy to figure out.
Basically yous will want to starting time on the within of the spine and lace into each coordinating hole of the embrace.
After y'all make the start loop to the cover, stitch down to the side by side hole in the spine. Then lace to second hole in the comprehend, stitch through the spine and sew together down to the next part.
While you are lacing between the encompass and the spine, it is very of import to watch your tension on the thread. You do not want to pull the thread too tightly, or else the book will non be able to open up and shut easily. It'south a adept thought to check as you go while you lace to make sure the stitching is not too tight.

In one case you end one side, you are ready for the other side. This is washed the exact same style as the kickoff side. After you lot finish the 2nd side and the cover is all put together, y'all are set up to add your elastic bands to the embrace.
After I had the bands in place, I decided information technology would be fun to do a criss-cross pattern across the back. I started past going from the inside of the cover and beyond the bands, and then worked my mode down.
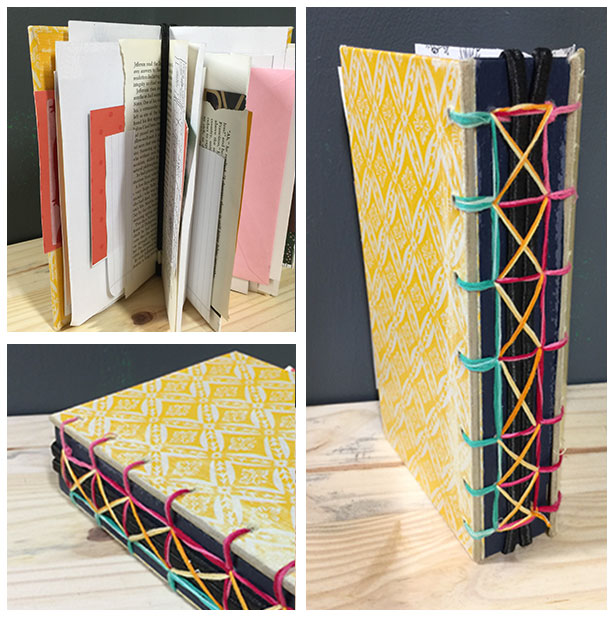
You can too of class opt to utilise nonetheless colored threads or change the way you stitch the covers to the spine. Since the covers were yellowish I decided to finish the criss-cantankerous pattern at the stop with a yellow gradient thread to necktie it all together.
It'southward very important when you are doing the criss-cantankerous role that y'all do Not cross the elastic bands on the inside – otherwise you lot won't exist able to utilise them for inserting your pages. You can get under them but not over them!
Now the Fun Part: Adding Your Favorite Papers
With everything all sewed together, you are now ready to fill it up with all of your favorite papers.
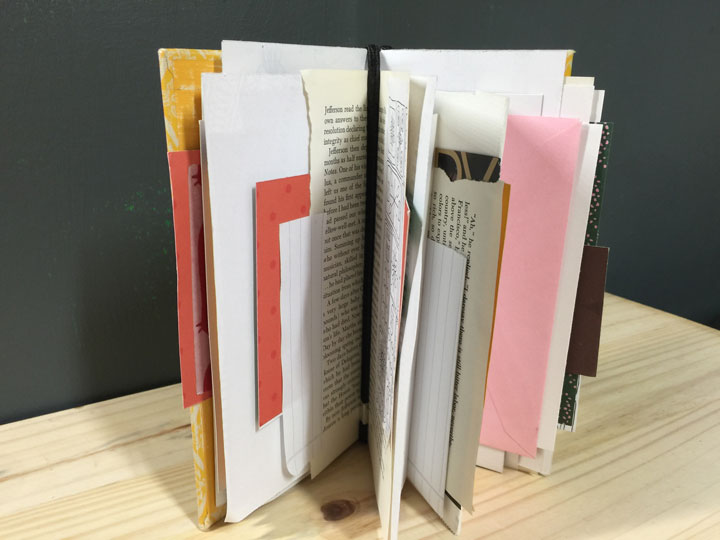
I created the inserts/signatures by simply folding pieces of paper together in sections. If you've watched my previous junk journal tutorials this ane was done exactly the same way as the others.
For now, I merely used various papers and fifty-fifty some of the old book pages from the original volume to fill information technology upwards. Need ideas for what to use as paper? This Junk Journal Ephemera Scavenger Hunt should get you started in the right direction.
Because the size of the cover was a chip small-scale I did accept to trim some of the bigger pieces of paper – but this was a great way to utilise upwards those little scraps out of my box.
It'southward definitely got that fun & funky summertime vibe to it, so I'm hoping to fill up this junk journal with all sorts of things we find during our summer adventures.
I love how information technology has notwithstanding beauty of Japanese stab binding with the convenience of rubberband bands for inserting papers and traveler'southward notebooks.
All in all, this journal is way harder to explicate than it really is to brand! I am already thinking of other fun ways to use this basic technique for more journals.
Instructions
- Cut and Remove Cover From Book. Mensurate and Cut 1" from the border of both books to create a ane" slice for the spine.
- Measure and mark 1/iv" from the border to create holes forth the spine and forepart and back cover. Punch Holes on Spine and Cover.
- Lace the coves to the spine. Add rubberband bands to the spine. Lace on the outside of the book in criss-cantankerous pattern.
- Create signatures for the book past folding pieces of paper in one-half. Stack the folded papers together and insert them at the fold underneath the elastic ring.
- Fill your new junk periodical with ephemera, artwork, collage images, writing, and savour!
Notes
When lacing the covers to the spine make certain you do not pull the threads too tight! You lot want the book comprehend to be able to open and close freely.
Last updated on January 23, 2022 iii:sixteen pm
Hopefully betwixt these written notes and the video information technology will not be too disruptive if you endeavour to get in yourself!
Have any questions? Comments? Did you make one of these? Tell us nearly it in the comments beneath and of form I'd dearest to come across what you create in our Artjournalist Community Facebook group!
Source: https://artjournalist.com/not-too-stabby-bookbinding/
Post a Comment for ""Not Too Stabby" Bookbinding Technique for Junk Journals"